 Have you ever imagined that you could actually create a fringed table runner in just one hour or even less? No, this is not a joke. With a little patience and creativity, you will have a beautiful and elegant table runner in no time at all, that too designed all by yourself!
Materials required include:-
· 1.82m of burlap
· 4.5m of one inch cotton lace ribbon
· 1.82 m of quilting cotton calico
· 4.5 m of half inch single fold lame bias tape
· Sewing machine
· pins
· Scissors
· Thread to match
Steps involved:
First you need to prepare the Burlap material. This has to be sprayed with water and then ironed with steam .This step may seem tedious, however is essential to smoothen out the fabric and straighten it. Once done find the grain line which runs parallel to the selvage.
Pull the fabric at the opposite corners, weft and warp directions after laying it straight .Next spray water and get it ironed once more.
Take your template with table measurements and cut the burlap fabric accordingly. Remove the thread of the selvage to create the fringes.
Do the next step gently and slowly.
Pull out the weft (the horizontal threads) above and below.
Again pull out the warp thread on the left and right sides of the material.
The threads can be removed to suit the desired width of the fringe. Normally a 2 inch fringe will look good, however that is entirely up to your wish.
Now comes pinning and sewing the lace. A zigzag pattern is preferred here to keep the lace in place. Burlap has a tendency to lose shape easily, so the zigzag stitches will help attach the lace firmly.
Once that is done, you need to carefully sew on the quilting cotton to the other side of the fabric.
Finally you carefully stitch on the bias tape all around the quilting cotton edges, which gives you for an elegant and finished look.
So at last with a few cuts here and a few stitches there, you have your prettiest table runner!

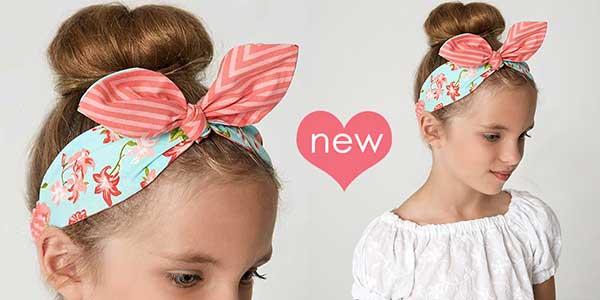
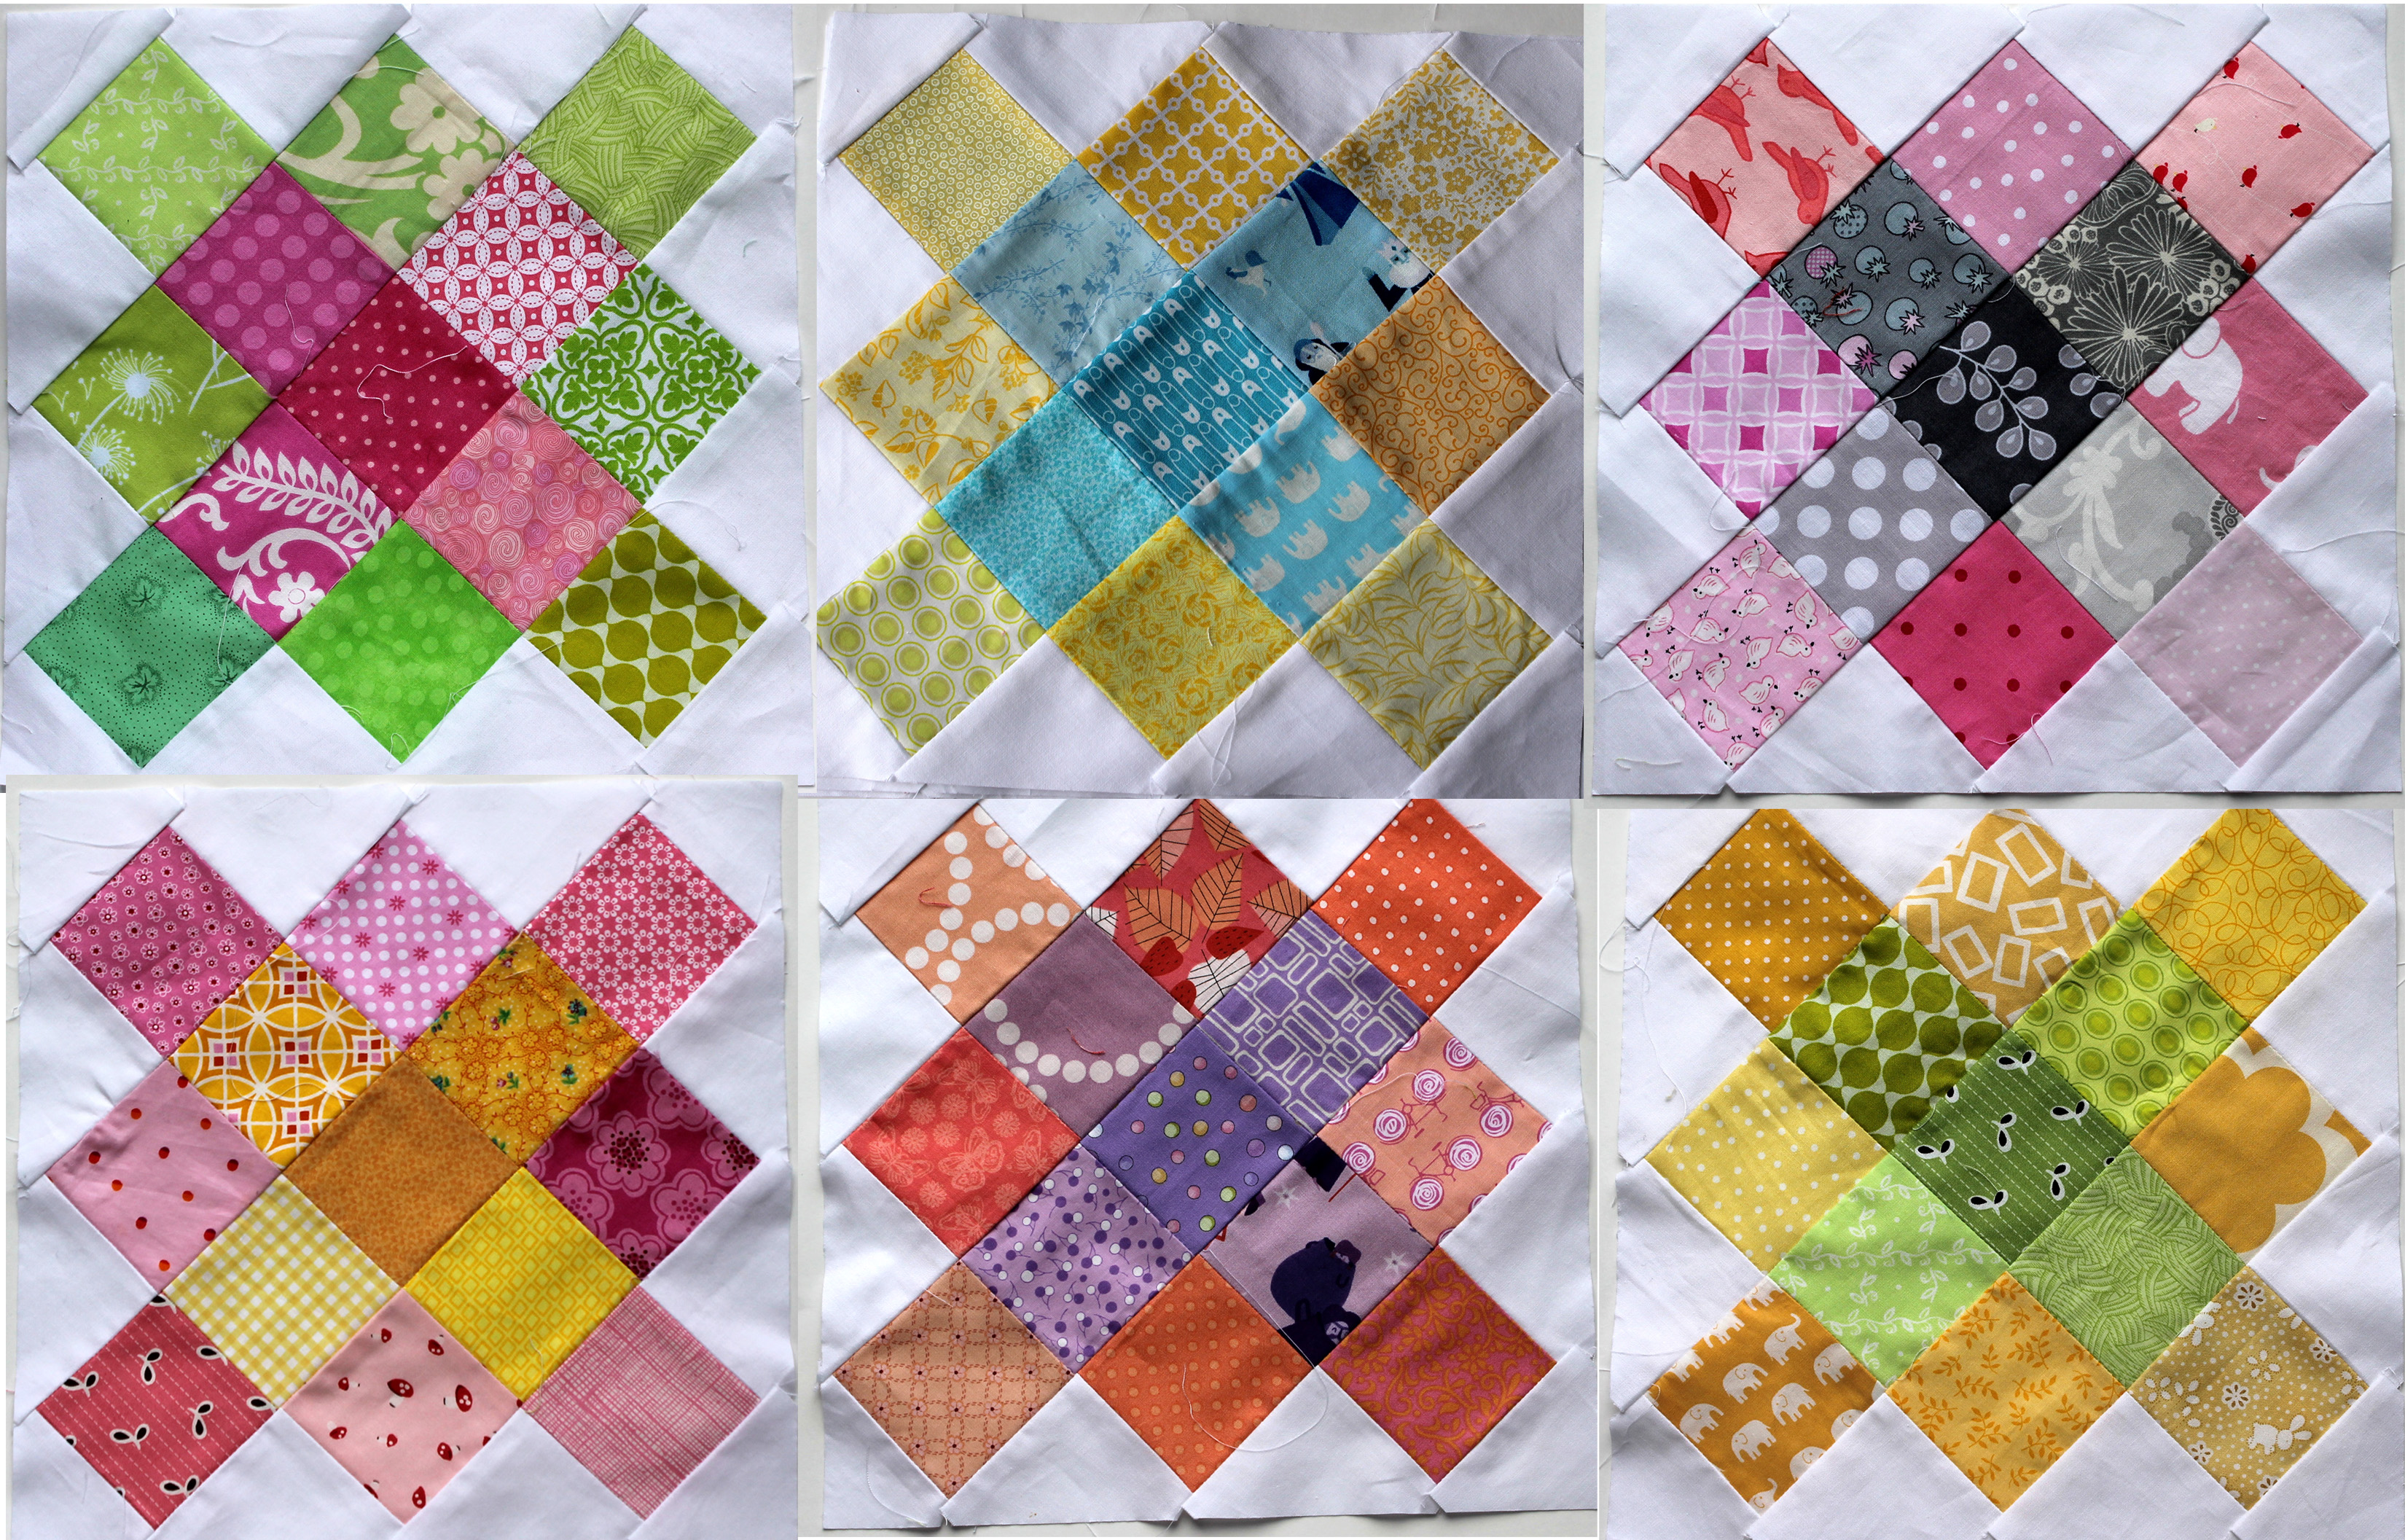
 Once you have finished a sewing project, there will be lots of scrap material lying around. Do you feel bad throwing away all that fabric? Well actually ,just a few moments of creativity can help you use all those scrap materials .There are so many ways you can convert these into day to day essentials like headbands etc. These are also fun projects for little tailors who are waiting for a turn at the sewing machine.