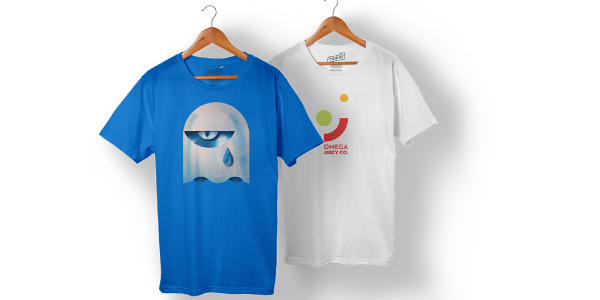
The origins of screen printing is the process of applying an ink resistant substance, such as wax onto a screen of silk, forming the pattern or design that is desired. The silk is stretched over the screen, which is then placed over the desired material to be printed, for example, clothing or a piece of wood to create a sign. Once the artist is happy with the design on the silk screen, They use a squeegee to push the ink through the threads of the silk and onto the material that is under, creating the negative image that is formed from the wax. This is the original method, used by the Japanese after they adopted the idea from the Chinese. More information on this site
So here is how a modern day printer would create their own design, using the silk screen printing method;
Take your screen and degrease it, domestic oven degreaser spray will be fine to use on your screen. Then you need to take your paint emulsion, and pour it gently into the scoop coater, propping the screen up vertically, proceed with applying the paint by gently tipping the coater forward so that the paint slides off evenly onto the screen, be sure to start from the bottom and work your way up in one smooth and slow movement, before tipping the coater back slightly once you reach the top of the screen to avoid spillage. Be sure to do this in the dark, and to keep away from direct exposure from the light until you are ready to imprint your image onto the emulsion, leave the screen there until it is completely dry.
Take your image (transparent paper drawing, or a cut out) and put it onto the dry emulsion. Set the screen under your light source of choice, making sure you have a non glossy object (towel, foam etc) under your screen to soak up any stray light. Putting a pane of glass to keep the image plush with the screen is beneficial, and will also protect the image from being moved.
Remove your image from on top of the screen after approximately 2-8 minutes, this changes drastically due to your light source, amount of emulsion and your image detail, so be sure to keep an eye on it, experimentation is key.
Take your screen to your wash area and apply a small showering of water onto the screen to make it damp, holding the screen up to a light, you should be able to see your image on the screen. Leave the screen for 60 seconds before hosing the screen down, removing the image’s stencil from the emulsion. Be sure to hold it up to the light once again, to check for pinholes or gaps in the screen and use tape to fill in the borders so that absolutely no ink will be able to get through, except via the image’s stencil.
Stencilling the image onto the material is fairly easy, pour in a decent amount of ink onto the screen that is face down on the material you are printing onto, then proceed to push (or some people prefer pulling) with a small amount of force, the ink over the stencil using the squeegee. Most experts agree that doing this only once is suffice, however, when using bold colors, you may wish to go twice. More on this website

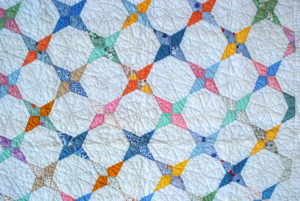
 Ready to start your first attempt at tailoring? There are few instructions which can be very useful to you before you actually start cutting the fabric. You need to prepare beforehand so that the final dress will be perfect and just as you wanted it to be. Let’s take a look through some points which don’t seem very important to a beginner.
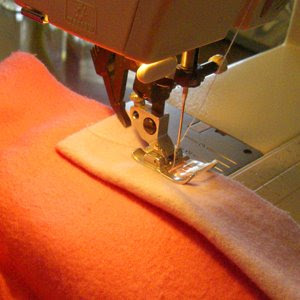 However for beginners, it is best to think ahead and decide which pattern will suit you and the fabric. Study the pattern and get familiar with the instructions as to how to cut the fabric.